How to Migrate from AWS Lambda to Railway
If you are currently using AWS Lambda and are considering migrating to Railway, this article will walk you through a step-by-step process for migrating your AWS Lambda function to Railway.
Why Migrate from AWS Lambda to Railway?
While AWS Lambda is a powerful tool, there are a few reasons why developers might choose Railway for their projects:
- Simplified Deployment: Railway abstracts away much of the complexity involved in deployment, providing a seamless experience that doesn’t require deep cloud infrastructure knowledge.
- Built-in Database Support: Railway makes it easy to connect to and manage databases without needing separate services.
- Cost-Effectiveness: For smaller projects or developers looking to optimize their spending, Railway offers simpler pricing models, especially for projects that require both hosting and databases.
- Better Local Development: Railway’s integration with local development environments is straightforward, allowing you to deploy without worrying about complex AWS configurations.
Prerequisites for Migration
Before starting the migration, make sure the following requirements are met:
- Railway Account: You must have an active Railway account.
- AWS Admin Access: Ensure you have administrative access to your AWS Management Console.
- Access to AWS Lambda Functions: Ensure you have access to your AWS Lambda function code, whether from the AWS Management Console or your local machine.
- Identify Dependencies: List all external resources such as environment variables, and APIs your Lambda functions rely on and add them to Variables in your Railway dashboard.
Step-by-Step Migration Process
- Download and open the Function code
- Package the Function as a Container Image
- Deploy the Container Image to Railway
- Test the Deployment
Download and open the Function code
Download the function code and open it in your Code Editor
- Go to the AWS Management Console, navigate to the Lambda dashboard, select your function, and download the code package.
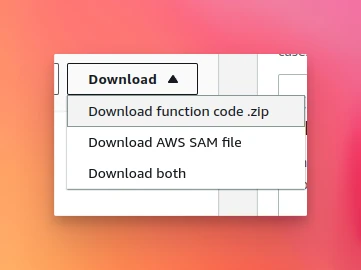
- Note the Runtime and Architecture your function is built on
- Unzip and open the code in your preferred Code Editor
Package the Function as a Container Image
Railway supports several methods of deploying your code, [See]. In this guide, We will deploy our Lambda function to Railway via Docker images directly from Docker Hub.
You must have Docker (minimum version 20.10.10)
There are three ways to build a container image for your Lambda function:
- Using an AWS base image: Preloaded with runtime.
- Using an AWS OS-only base image: For Compiled language.
- Using a non-AWS base image: For another Container registry.
In this guide, we will use the AWS base image.
- Create a Dockerfile in the same directory as your function. The Dockerfile defines how to build your container image.
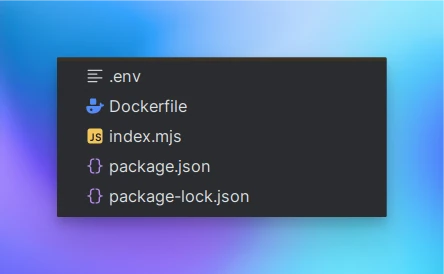
-
Add the following configuration to your Dockerfile:
# For NodeJs runtime, and Architecture x86_64
FROM public.ecr.aws/lambda/nodejs:20-x86_64

# Copy the function code
COPY index.mjs ${LAMBDA_TASK_ROOT}

# Set the CMD to your handler (could also be done as a parameter
# override outside of the Dockerfile)
CMD [ "index.handler" ]
# Use the AWS Lambda Node.js base image FROM public.ecr.aws/lambda/nodejs:20-x86_64 # Copy files or directories and add to the filesystem of the container at the path. COPY ${FILES} ${CONTAINER_PATH} #RUN npm install to install dependencies RUN npm install # Set the Lambda function handler CMD ["index.handler"] -
Build the Docker image: Open up your terminal and run the following command in the directory containing your Dockerfile
docker build --platform linux/amd64 -t my-railway-function .Note: The command specifies the --platform linux/amd64 option to ensure that your container is compatible with the Lambda execution environment regardless of the architecture of your build machine.
-
Test the image locally
Start the Docker image with the
docker runcommand.docker run --platform linux/amd64 -p 9000:8080 --read-only my-railway-functionFrom a new terminal window,
postan event to the local endpoint.In Linux and macOS, run the following curl command:
curl "<http://localhost:9000/2015-03-31/functions/function/invocations>" -d '{}'If your function code requires a payload, you might want to invoke the function with a JSON payload. Example:
curl "http://localhost:9000/2015-03-31/functions/function/invocations" -d '{"payload":"hello world!"}' -
Deploy your local Docker image to Docker Hub.
Deploy the Container Image to Railway
- Create an Empty Project in Railway
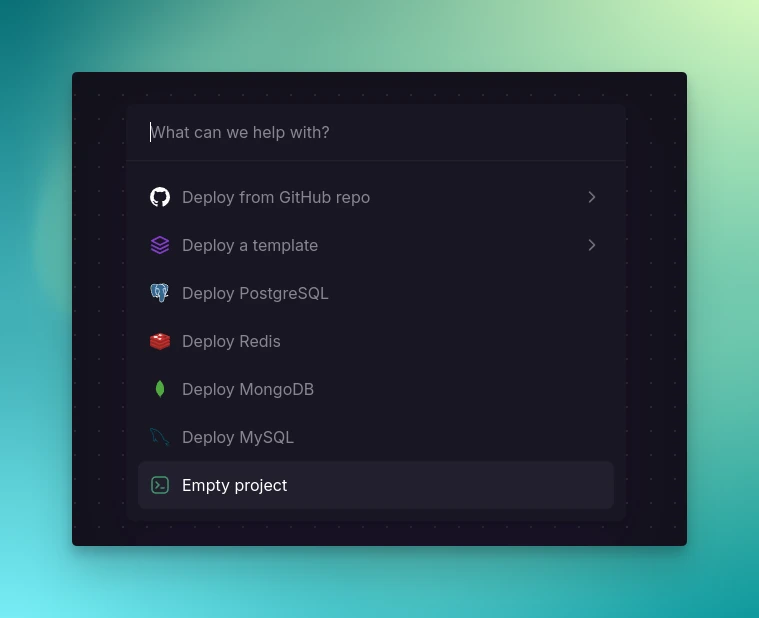
- Add a new service
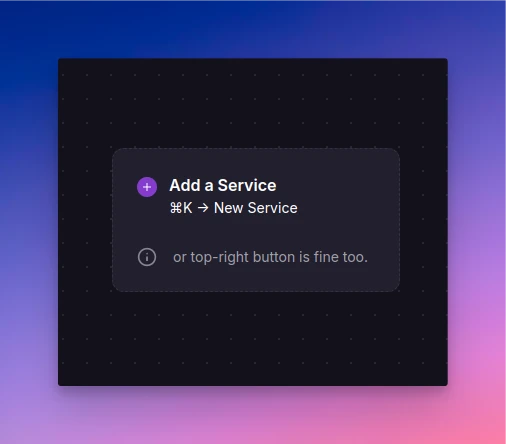
- Choose Docker Image
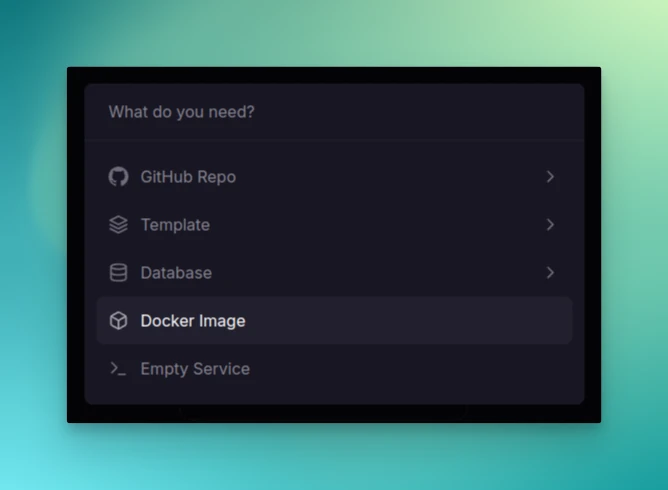
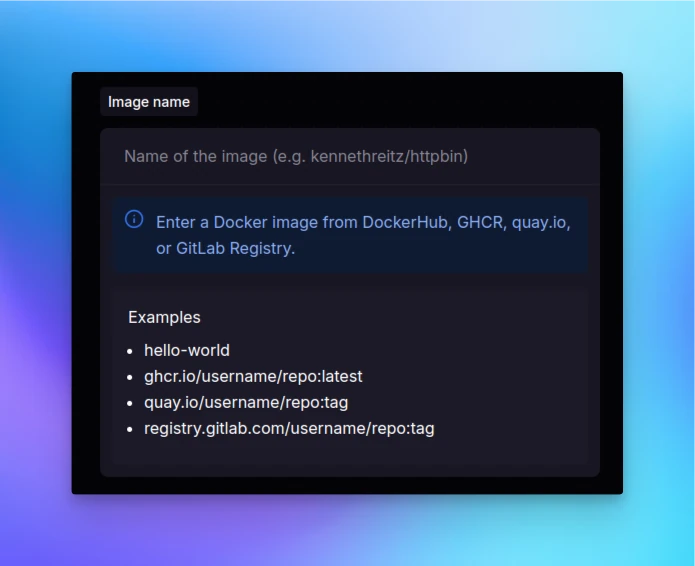
- Enter name of your image from DockerHub
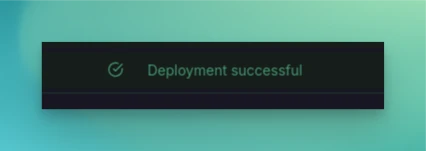
- Deploy your service, and ensure deployment is successful
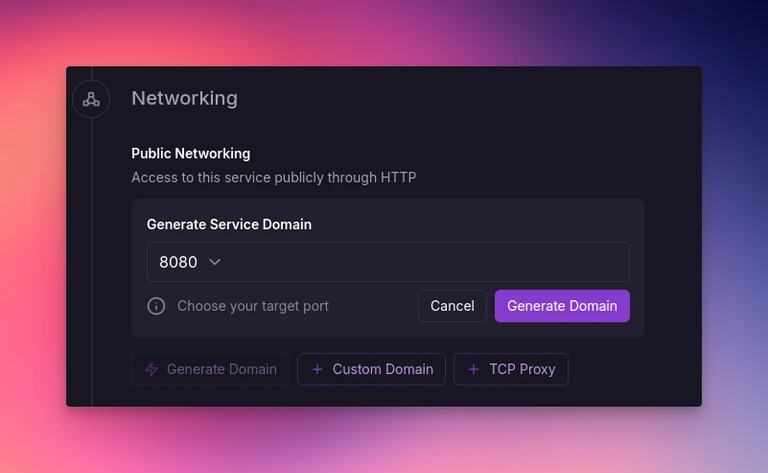
- Go to Service settings, Under Networking generate a Domain
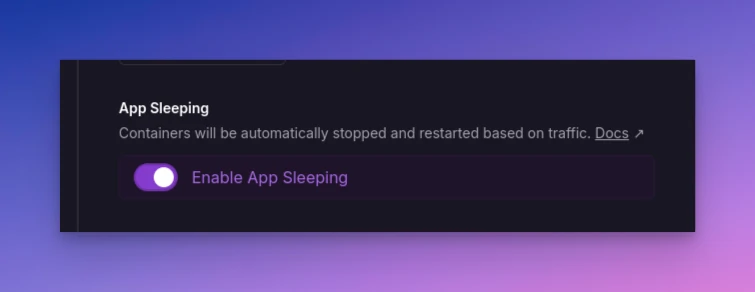
- Enable App Sleep: App Sleep is Railway’s serverless feature that helps reduce service costs by ensuring the application runs only when necessary. It automatically "sleeps" the app during periods of inactivity, and wakes it up when requests are made, minimizing resource usage.
Test the Deployment
-
Invoke your function: Invoke your function using the generated URL and append
/2015-03-31/functions/function/invocationsto the endpoint.Example:
<generated-url>/2015-03-31/functions/function/invocations -
View Logs: Railway provides a built-in logging feature to help you diagnose any issues. Check logs for any errors or warnings that may arise during the initial execution.
-
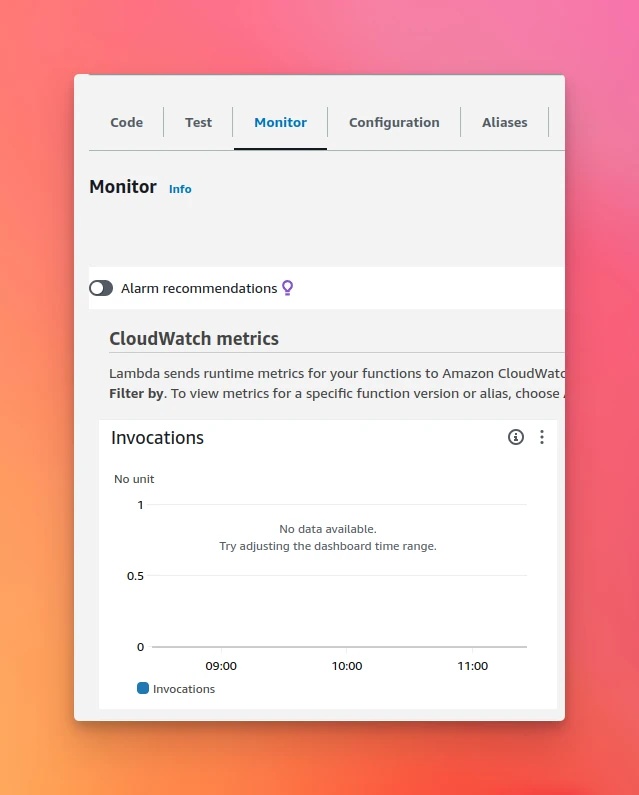
Verify No invocations on AWS: You can view invocations on your function in AWS Management Console to verify no invocations in AWS.
Checking for new invocations in AWS Lambda -
Verify External Connections: If your function depends on external services (like databases or third-party APIs), ensure those connections are working properly in the Railway environment.
Post-Migration Considerations
Monitor and Scaling
Railway handles scaling automatically, and you do not need to go through the hassle of complex scaling configurations.
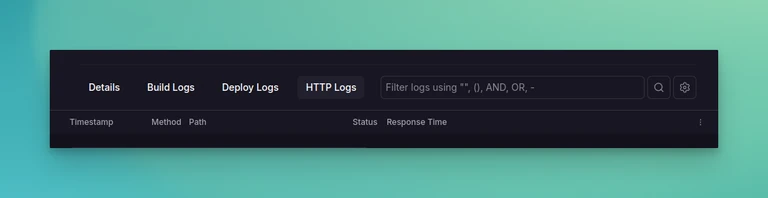
You can use the HTTP logs to monitor your application.
Cost Management
Railway has a clear and simple pricing model based on usage. You can set limits to ensure you don’t exceed your desired budget.
Troubleshooting Common Issues
- External Resource Management: Ensure that all external resources such as environment variables, and APIs required by your Lambda function are properly noted and included in the container image during packaging.
- Timeouts or Retries: Railway doesn’t have built-in configurations to manage timeouts or retries. You'll need to handle these manually within your application.
Conclusion
Migrating from AWS Lambda to Railway offers a more streamlined developer experience, allowing you to focus on building features rather than managing infrastructure. By following these steps—exporting your Lambda functions, package function as a container image, setting up your Railway environment, and deploying your code—you can smoothly transition from AWS Lambda to Railway. With its easy setup, cost-effective solutions, and powerful database integrations, Railway can be an ideal alternative for many serverless projects.
